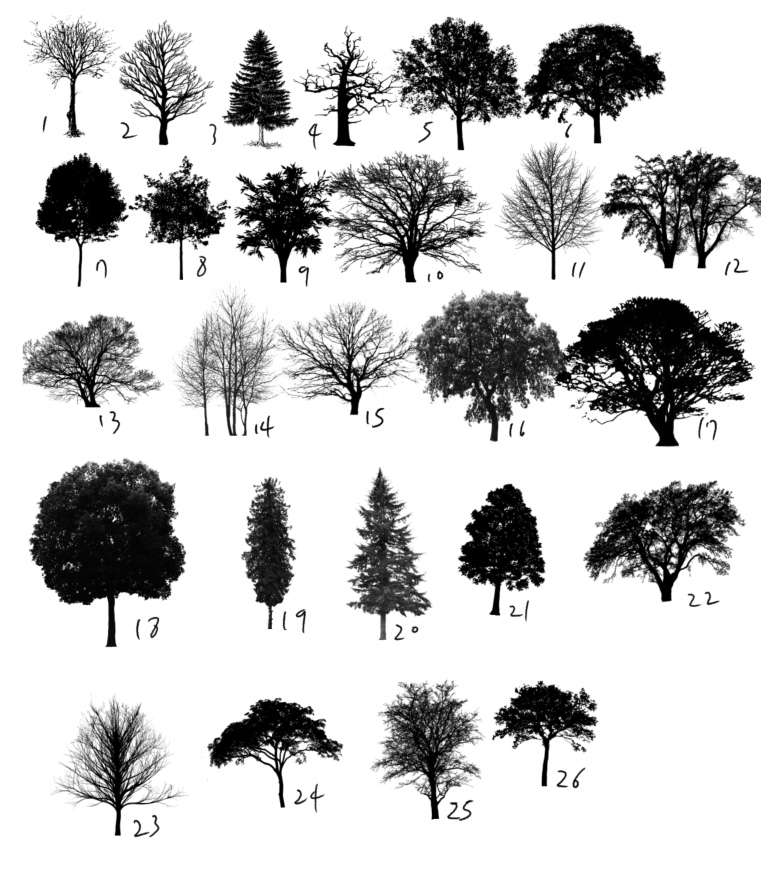
If you have an iPad, you can use the drawing app Procreate to create trees, bushes, and other objects. This app comes with tons of brushes that you can play with and duplicate. Here are some tips to help you get started creating your own brushes in Procreate. To start, insert a shape or grain into the Shape Source box. After that, tap Edit and Import. Once you have imported your image, you can tweak the settings and draw using it.
After you import your photo, go to the STROKE tab. You will see the SPACING slider. You can adjust the spacing between images to get the exact look you want. You can also adjust the brush size if you want it to look realistic. Another tip is to move the SPACING slider to the right. This will help you get the right spacing between the images. You can move the SPACING slider to create textured brushes.
Once you’ve uploaded your photo, you can import the brush into Procreate. Then, you can adjust its settings and use it to create the perfect tree. You can even add some noise to the tree. The brush is great for adding detail to the background of your artwork, so be sure to use it for drawing. You can also pin the brush to your favorite brushes. Once you have your favorite brushes pinned, you can access them with one tap.
How to Create Procreate Brushes
Procreate has an extensive library of brushes, so you can use the tools in Procreate to create unique effects. The brush settings you choose will enhance your designs and add character and noise. There are brushes for every occasion, and the possibilities are endless. If you’re not satisfied with the preset brush, you can also create your own. Once you’ve created your brush, try it on other areas and see how it turns out.
Once you’ve made your brush, you can install it. Then, click on the “brush” icon in the brush panel. Then, choose the type of brush. It may be a plain or a more intricate brush. Once you’ve done this, you can customize the colors and the appearance of the tree. You can also customize the appearance of the brush by renaming it.
Once you’ve made your brush, you can import your image file. You can then customize the colors and the texture. Then, choose your source image. To use a photograph as a source, you can choose its size and color. You can then choose the texture and grain you want, and the final color. After that, you can also change the texture of your tree by adjusting the “source image.”
Read Also: What Is Missouri State Tree
Conclusion
After you’ve created your brush, you can install it and use it to paint your trees and mountains. Once you’ve installed it, you can view it from the brush panel. Unlike other programs, Procreate brushes have names, so it’s important to make a brush of the same name. However, if you need to use an image to express your ideas, it’s best to purchase the original file.
Once you’ve created your brush, you’ll need to make a tree shape in the toolbar. To do this, you need to select the shape of the brush. Then, use the same shape to create a new one. This will allow you to modify the color of the brush. Once you’ve selected a tree shape, you can now use the tool to apply a tree image.
Once you’ve created the brush, you’ll need to add it to the brush library. You can then customize it with any of the different Procreate brushes. You can also make the brush in a different color or with a different shape than the original. To customize a tree brush, you should create a copy that’s unique to your drawing style. Delete the default Procreate brushes and use your own one.