Before you start drawing tree bark, you should learn how to create a sketch of it. It’s important to use a pencil and use a loose, non-precious hand to ensure that your sketches will look natural. The following steps will help you draw a realistic sketch of tree bark. To start, use a 2B pencil to shade the inner ellipse of the trunk. Don’t press the pencil too hard – a squiggle will make the trunk appear rough.

Easy Steps on How to Draw Tree Bark
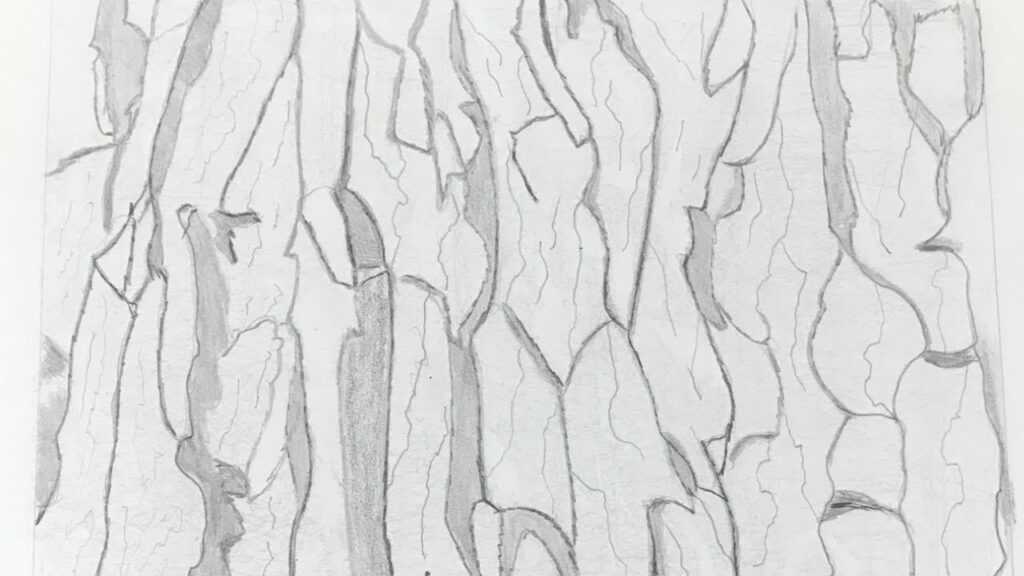
First, use a light, non-toxic colored pencil to shade the edge of the tree bark. Next, use a 5B pencil to add more crevices. The drier the wood, the more crevices you’ll need. Finally, use an HB pencil to create chaotic shapes on the bark. For a more natural look, tilt the HB pencil and make the lines overlap for an effect that’s similar to the bark of real trees.
After you’ve done this, you can start drawing the tree trunk. You can start with a pencil and a pen. The pencil should be black or a light brown color. Then, use a second pencil and shade the other part of the trunk. Then, you can continue shading and adding details to the trunk. For example, try using a darker color than the rest of the tree. Alternatively, you can blend the two colors to create the bark of your chosen tree.
Now, you can go ahead and begin to paint the bark. Use a 2B pencil for shading, and a 5B pencil for adding crevices. As you go, remember to keep your strokes as thin as possible. After that, you can move on to the next step in your project: adding a monarch butterfly! After you’ve completed the basic steps, you’ll be ready to move on to the next step in your project.
To create a realistic tree bark, use colored pencils. They are very forgiving and require a lot of tiny lines and dots. Several layers are necessary to get a realistic look. The biggest tip for drawing tree bark is to study the reference photo. The various types of tree bark have their own unique characteristics. When you’re done with this stage, you can start adding the details. Creating a detailed bark will give your project a natural look.
After you’ve created a sketch of tree bark, you’ll need to paint the tree trunk. You need to add a V-shaped crook to the trunk. You can also use a 5B pencil to add the details of the crevices and bumps. Then, you’ll need a dark shade of brown for the trunk. Once you’ve finished with the details of the tree, you can add the monarch butterfly to the tree.
Once you’ve completed the sketch, you can add detail by using a 2B pencil or a 5B pencil. To add texture, you can shade the edges of the tree with two-toned colors. To add details, you can also use an HB pencil to draw the chaotic shapes on the bark. After you’ve finished sketching the tree, you can use an HB pencil to draw the butterfly.
Read Also: How Much Garland For A 7 Foot Tree
Conclusion
After you’ve finished sketching the tree trunk, you can add more details by using a 5B pencil. This pencil is good for adding shadows and highlights to your trees. A 2B pencil can also be used for adding a shadow to the tree trunk. You can use any of these pencils to create an effective drawing of tree bark. You can also apply a color of your choice to the tree’s bark.
Next, you can begin to draw the tree’s bark. You should start by sketching the tree’s top and adding the ruffle lines. This will help the trees look full. You can erase these guidelines now, and you’re ready to continue your drawing. You can now move on to the next step in the process. This step is crucial when you’re trying to draw the bark of a tree.