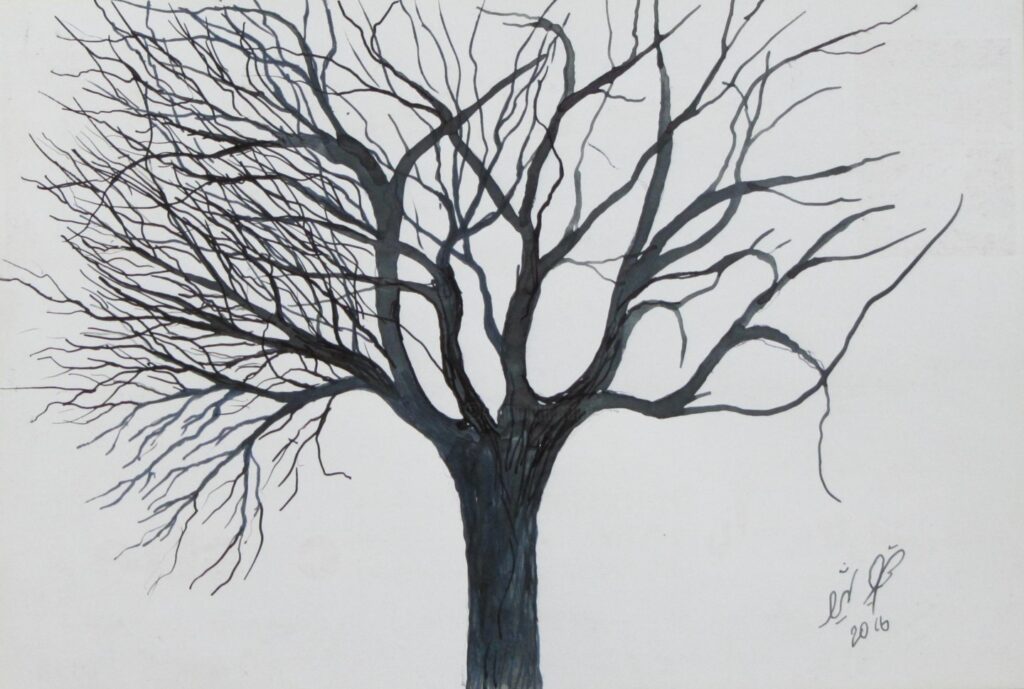
To draw a tree in winter, start with an outline. Remember that it isn’t necessary to copy every leaf. To give the illusion of individual leaves, sketch a few branches, and don’t worry if you don’t get them quite right. Then, add individual twigs to form the crown of the tree. You can also use a paper smudger on graphite to add a light tone to the branches.
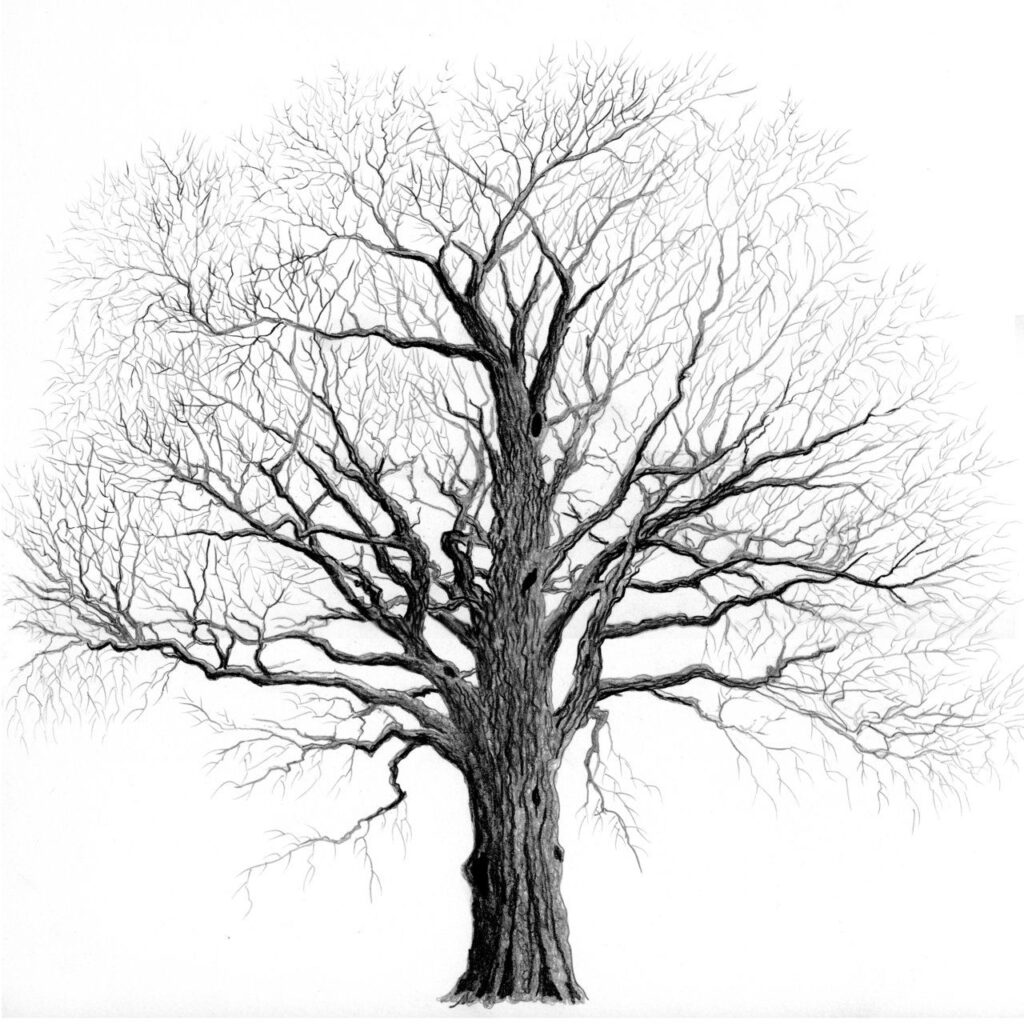
When drawing a tree in winter, take note of the architecture of the tree. Even deciduous trees have a distinct shape, which is primarily determined by their branch angles and crown shape. In order to draw a realistic tree, pay attention to these major branch units. Once you have a good sense of their form, you can use these shapes to create a realistic winter scene. However, it’s important to remember to use negative space and use contrasting tones.
Observe the structure of the tree and the branches. A tree in winter has a very distinctive architecture. The crown shape of a deciduous tree is often the primary means of describing its shape. This unique architecture can be reflected in an artistic drawing. Moreover, the branches and the trunk of a deciduous are often symmetrical, which can help you draw a realistic tree. Aside from the form of the tree, it also has a distinctive shape, which makes it ideal for illustrating a real-life scene.
The main part of a winter tree drawing is to add light and shadow. Firstly, the sunlight will need to be placed at the bottom of the tree. This will create shadows and highlights. The shade will need to be indicated, but it should be relatively consistent and evenly distributed. If you can’t get this right, you can use the trunk to create a realistic scene. But before you can paint the twigs, you should study a real one.
Once you have a sketch of your winter tree, add the details of its silhouette. After that, you can add highlights and shadows. Identify where the sun will be coming from and how it will fall. If the light falls on the side of the tree, make the main shadows on the opposite side. Then, place the black outlines of the trunk and the main twigs on the top of the trees.
The shape of a tree is a cylinder. You should try to depict the shape of the tree in your drawing. A tree should have a shadow on the top and a shadow on the bottom. The base of the tree should be light. The base should have grass, which will help define it. As you draw the trunk, make sure to place the shadow on the snow. The roots of the tree will be lighter than the leaves.
The bare spots on the tree’s trunk are best filled with more main branches. The main branches should be darker than the rest of the tree. A tree’s trunk is the main feature of the drawing. A small branch with bark on it should be shaped like a cylinder. Similarly, the large bare spot on the right side should be filled with smaller ones. A winter tree is often very symmetrical.
Read Also: How would a Decaying Tree be Classified?
After the tree is outlined, it is time to add details. The first step of drawing a winter tree is to create a light background. The dark area on the trunk and branches will be the snow. The shadows on the trunk and branches will be lighter than the ones on the top and bottom of the tree. Then, you can sketch a winter tree in any season using watercolours. You can paint it in any colour you like. (https://fernandez-vega.com/)
The last step in how to draw a winter tree is to add snow. If you’ve chosen to use watercolours, you can choose any colors for the tree’s trunk. By painting the branches with water, the children can learn how to blend different colors and create a smooth line. If they want the tree to appear in winter, they can make it as dark as possible. This technique can be done in any medium.