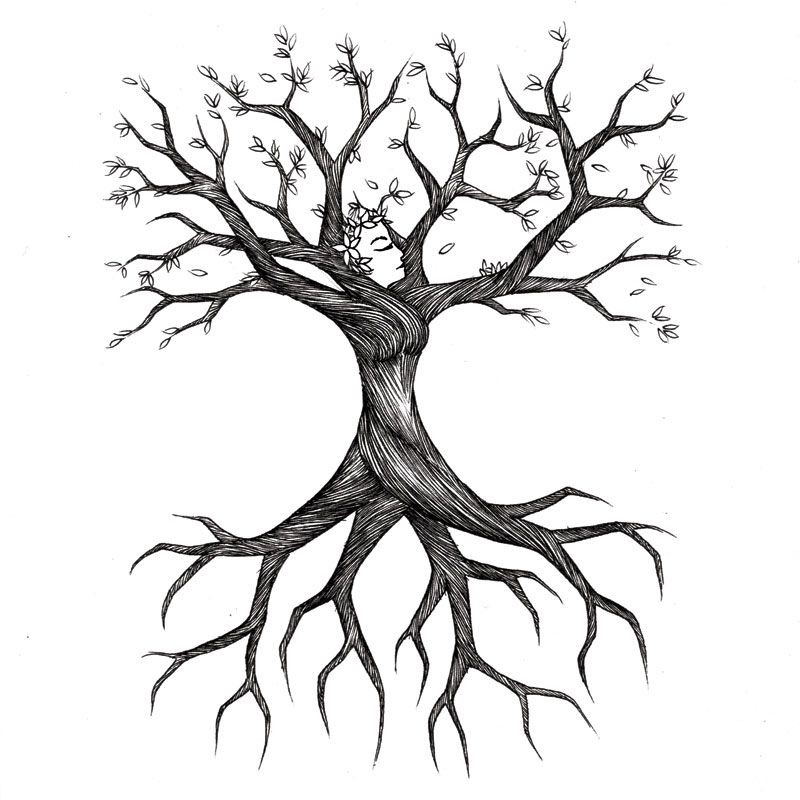
When drawing a tree, you will need to include the roots to help give it the right shape. The roots connect the tree to its life source, which is usually water. These roots also connect to the resources of the soil. You should use a dark pencil to outline the final outline. This technique will make the tree look more realistic. To create a perfect drawing of a root system, you need to draw a semi-circle.
After sketching the tree’s trunk, you can move on to the roots. You can draw the root system by using simple lines, which can be horizontal or curved. You can also shade the roots, particularly the mid-section, to create a more realistic look. Finally, you can draw the ground underneath the tree’s trunk. By using the techniques mentioned above, you will be able to create a realistic-looking drawing that will capture the viewer’s attention.
To draw the roots, you can use simple lines to represent the tree’s root system. For example, you can draw the top half of the root system. Next, you should shade the mid-section of the root system. Then, you should draw the other half of the root system. After shading the roots, you should darken the shadows. Now, you can use your pencil to complete the rest of the tree.
When drawing the roots, remember to use a range of tones. A wide range of tones is important in drawing the roots. This will add realism and depth to your drawing. Once you’re satisfied with your drawing, you can print it on t-shirts, mugs, and tote bags. If you’d like, you can also design your own bespoke illustration for a bespoke gift.
Learning How to Draw a Tree With Roots
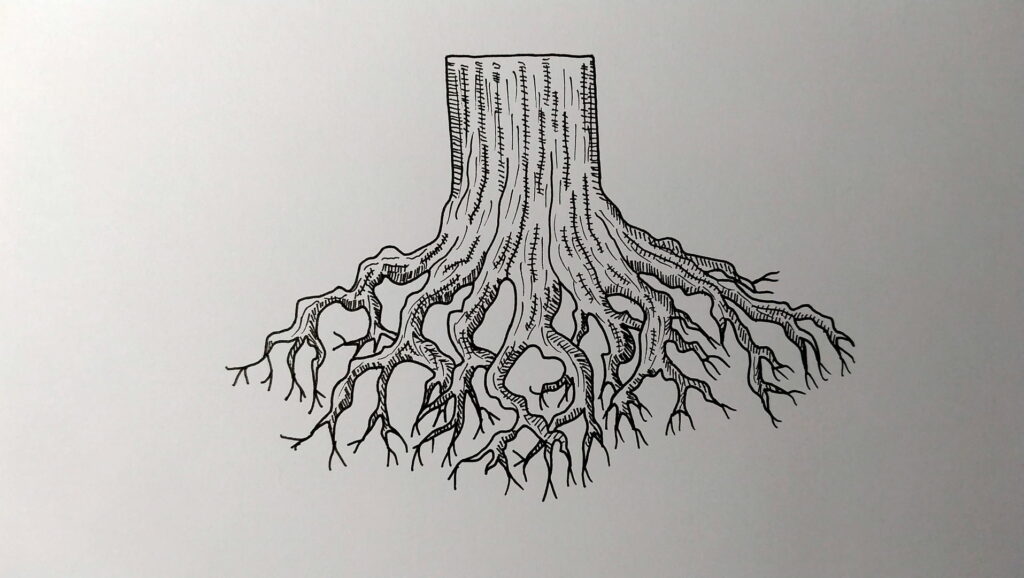
You can learn to draw a tree with roots by following the steps in the guide. To start, you can simply draw the tree with a pencil. A regular sketching pencil sometimes referred to as HB, is fine for this task. It isn’t necessary to purchase a special pencil for this purpose. You can always buy one on the internet. Just remember to practice, experiment, and make sure you follow the steps in the correct way.
Draw the trunk of the tree. To draw the roots, you should make a small triangle at the top of the trunk. After drawing the trunk, you should draw the roots and foliage. You can create a tree by using a pencil with different colors. (https://www.creditcadabra.com) The trunk should be the central feature of the drawing. Once you have outlined the trunk, you can draw the other parts of the tree. You should not use a pencil with sharp edges.
Read Also: How Much Is A Cypress Tree Worth
After you have figured out the type of tree you want, you should then decide what type of leaves you want. Leaves are relatively easy to draw and can be found in almost every color in the world. They can vary in size, shape, and color, and are relatively inexpensive. However, you can start by making a basic sketch of a tree first before trying to incorporate the details. This way, you can learn the basics of drawing a tree with roots.
After you have decided which type of tree you want to draw, you can then focus on the specific details of the tree itself. When drawing a bare tree, you can use the cloud shape as the base of the tree. Alternatively, you can add leaves and branches by using different line styles. For the leaves, you can include any shape you wish to represent them. You can try a variety of shapes and colors for your tree.
Once you have decided what kind of tree you want, you need to figure out how to draw it. To draw a tree with roots, you need to know how to draw its trunk. A pine tree has a thin trunk and a long, flat trunk. By making a triangle in the center of the trunk, you can draw a pine tree with its leaves and branches. You can also draw other types of trees by adjusting the height of the roots.