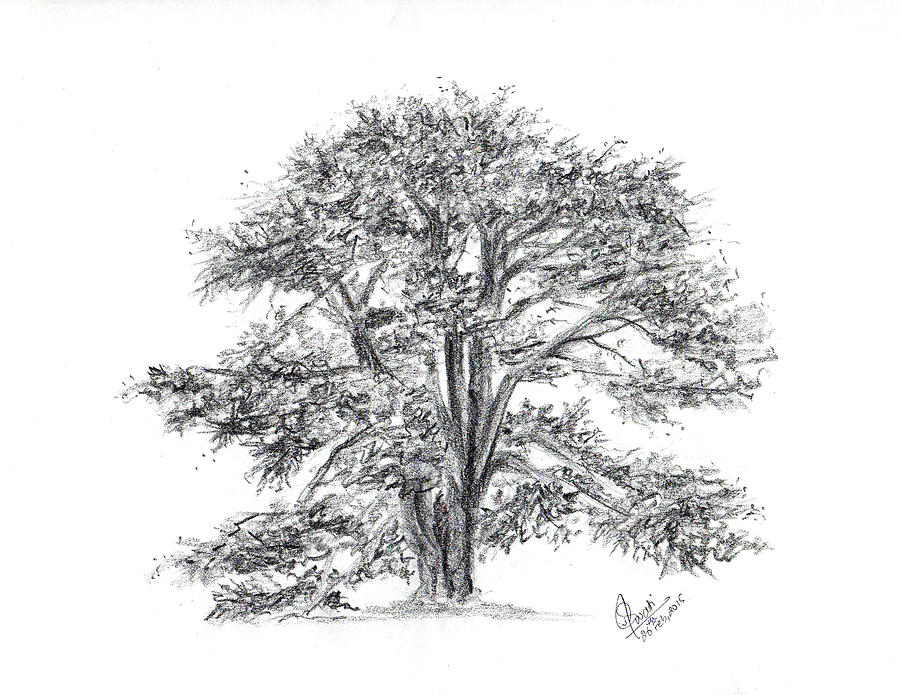
This step-by-step drawing tutorial will teach you how to draw a cedar tree. This type of tree is very easy to draw and is perfect for children and beginners alike. The image above is the finished product, and you can print the steps to keep them in mind while you are drawing. You can also find interesting facts about the species at the bottom of the page. There are six steps to drawing a cedar tree.
The first step in learning how to draw a cedar tree is to sketch the shape of the tree. The trunk of the tree should be shorter than the rest of the tree. The trunk should be a light brown color, and older trees should have a deep brown trunk. The leaves of the cedar should be green, either light green or dark and can be yellow or orange. Take note of the shade of each branch, and add some shading to make them stand out.
Once you’ve figured out how to draw a cedar tree, it’s time to start working on the trunk. Start by choosing a location where you want the branch to be placed. After choosing the placement of the branch, lay another clean sheet of paper on top to keep everything from moving. Roll a brayer over the top of the branch and let it dry. Your drawing should look realistic.
The trunk of a cedar tree should be shorter than the rest of the tree. The color of the trunk of the cedar tree depends on the look you’re going for. Young trees should have a light-colored trunk, and older ones should have a dark-colored trunk. You can add autumn leaves to your drawing or highlight the color of the leaves. After the trunk is completed, you can add other features to your drawing.
To draw a cedar tree, you should first decide which kind of cedar you want to draw. Try to choose a color that matches the rest of the tree. It’s important to know how to distinguish between a true and a false cedar. If you’re trying to draw a cedar tree, you’ll need to use the scientific name of the cedar. You’ll be able to tell the difference by its leaves if they’re yellow or black.
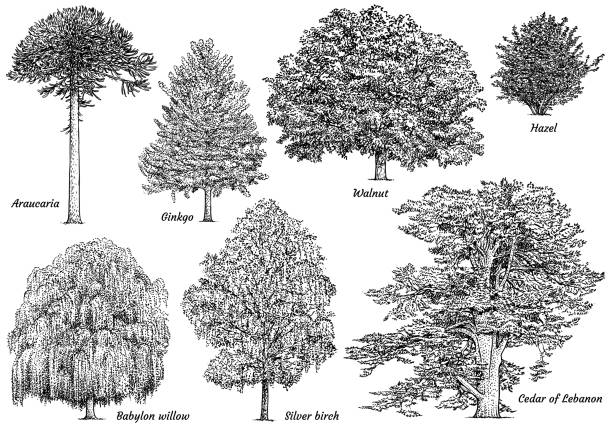
You can draw a cedar tree in several ways. The basic way to draw a cedar is to outline the tree in a circular shape. There are 4 species of cedar trees worldwide, and their names give you a hint as to where each one grows. The Atlas cedar is native to the Atlas mountains. It has blue-green leaves and is taller than the other types. The Cyprian, on the other hand, is an island-specific species. Its bark is white and drier than the others.
Read Also: Why is my Cedar Tree Dying
When you learn how to draw a cedar, you can use different methods. Then, you can use different techniques, depending on the style you’re trying to create. For example, if you want to draw a tree with large branches, you should use the two-inch-thick layer of mulch to avoid water loss. In cold climates, you can protect the young tree with a wire cage.
Once you’ve chosen the style and colour of the cedar tree, you can begin to define its different species. The true cedars are native to four different countries, and their names will give you a clue as to where each species grows. Besides the three types of trees, you can also distinguish the different shapes by their bark. The Cyprian cedar is unique among cedar species due to its pyramidal shape and flat tops.
There are four types of true cedar trees. The names of each species indicate where they grow. The Atlas cedar is found in the Atlas mountain range, and its blue-green leaves are common. The Cyprian cedar is found on the island of Cyprus, and its branches are smaller than those of other cedar species. However, there are some differences between the species. There are many other types of true-cedars.