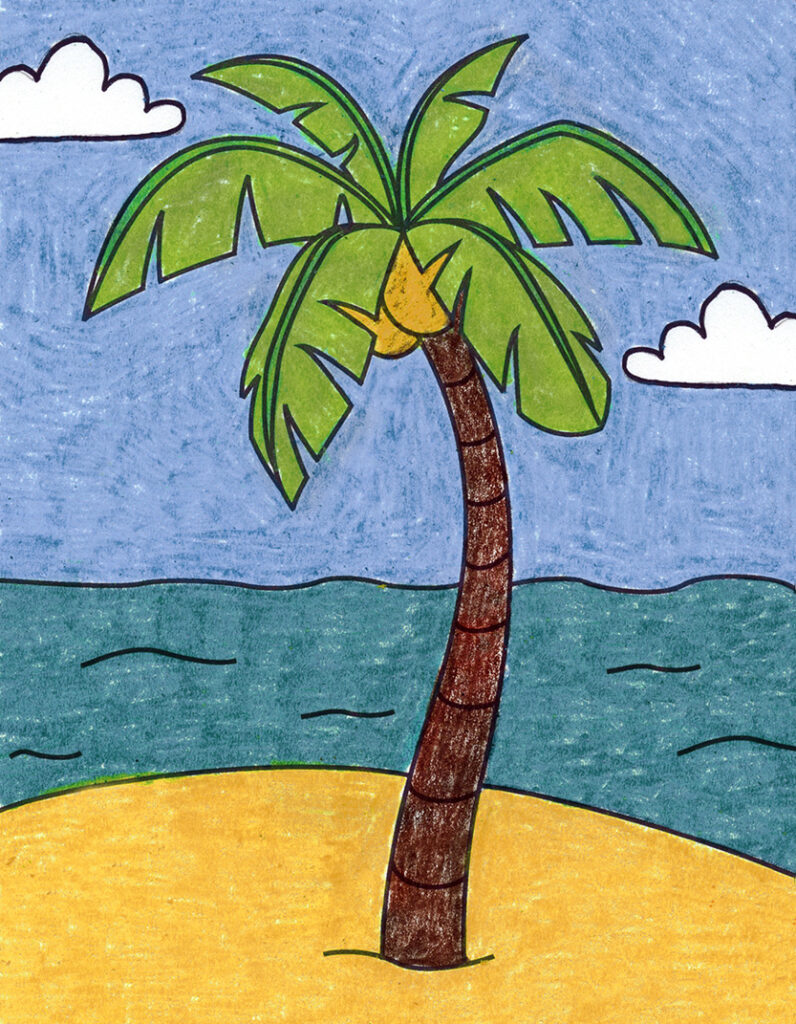
To start drawing the trunk of a palm tree, you’ll need to follow the steps of the drawing. In the trunk, you’ll need to draw two curved lines that are connected at their ends. These lines will form an oval with a point on It. You’ll need to draw five leaves around the fruit. Finally, you’ll need to add the fruit and the trunk to complete the image. After you’ve completed all of these steps, you’re ready to begin the final stages of drawing the tree.
Tutorial on How to Draw Palm Tree Leaves
There are several different techniques for drawing palm tree leaves. While it’s unnecessary to follow any specific process, you should follow some guidelines. A good rule of thumb is to draw a single leaf, preferably a large one. Then, draw the leaves in three sets of five, alternating in size and style. For each set, make sure to include a small gap in the middle that represents the central branch.
Next, sketch in the trunk of the palm tree. The trunk is composed largely of slightly curved planes. The base of the fronds has a relatively small volume. The top part is a fat cylindrical drum, with volume and thickness derived from dozens of pruned fronds. After the trees are drawn, shade them with the same colours and scale as the rest of the picture. You can also add light shading to the trunk, but don’t forget that you can always undo the steps.
The trunk is the most complicated part of the palm tree form. It’s basically a long cylinder with a dipped front in the middle. The trunk is also very simple, consisting mostly of a cylinder and a small volume at the base. However, the top portion resembles a fat cylindrical drum, with the volume and thickness derived from hundreds of pruned fronds.
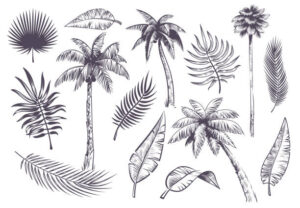
After creating your sketch, you’ll have to complete it with the outline. To do this, use zigzag jagged lines to add a shadow effect. They can be as small as a fingernail or as large as a witch’s broom. The leaves’ pointed tips point sideways at the top and downward as they bend down. Once you’ve finished drawing the outline, complete the shape by circling the leaf edges with jagged lines.
Next, draw the leaf outline. A good tip for this is to follow the contours of the leaf’s stem. Often, palm tree leaves are curved like a pineapple top, so it’s important to draw them properly. Afterward, you can add a shadow to the trunk by darkening the trunk. In order to get a more accurate impression of the leaf, you should make sure the lines are varying lengths.
Conclusion
The trunk and leaves of the palm tree are the most important part of the drawing. You’ll need to draw them in different shapes and styles to make the palm tree look more realistic. After you finish the base, you’ll need to draw the trunk and the coconuts. Then, you’ll need to add the island’s beach and the trees’ crowns. This will complete the overall sketch. Once you’ve completed these steps, you’ll be ready to add the leaves to the palm tree.
The trunk and leaves should be similar in size. The base of the palm tree should be wider than the top. The trunk and the leaves should be thinner than the trunk. The trunk can be erased after you’ve completed the guide. Once you’ve completed this step, you’ll be able to draw the trunk and the other parts of the palm tree. This step is also crucial for drawing a realistic palm tree.
After you’ve finished the trunk and leaves, you’ll need to draw the fruit of the palm tree. The fruit should be the most prominent part of the tree. The fruit is the last detail to draw. Remember to add the coconuts and the tropical settings to your palm tree. You can also add a few other details that will make it look more realistic. You’re ready to begin drawing the fruits and the leaves of the palm tree.
Read also How to Climb a Palm Tree